
I know the feeling when you hit that remote button and hear a sound like a blender full of marbles. It is usually the moment you realize your weekend plans just shifted from relaxing to home maintenance.
Most homeowners think a noisy or stuck door means spending a fortune on a full replacement. I have found that a few smart repair steps can actually keep your system running for another decade.
We are going to look at practical fixes that you can handle without calling in a professional team. These top garage door repair ideas will help you keep your money in your pocket and your door on its tracks.
Simple Maintenance Steps Before Starting Your Repairs
I always suggest starting with a quick visual inspection of every moving part before you grab your heavy tools.
You might find that a simple loose bolt is the only thing causing that annoying rattling sound.
Checking the safety sensors is another quick win because dirt often blocks the invisible beam.
I usually just wipe the lenses with a soft cloth to see if the door starts behaving properly again.
1. Apply High Quality Silicone Lubricant To Moving Parts
I noticed my own door sounded like a haunted house until I finally started a regular lubrication routine. Applying the right spray to the metal rollers and hinges stops the friction that leads to expensive part failures.
You should avoid using thick grease because it tends to attract hair and dust that clogs the tracks. I prefer a specialized silicone spray because it stays slippery without creating a sticky mess on your garage floor.
I make sure to spray the torsion springs lightly while keeping the liquid away from any plastic parts. This simple habit prevents the metal from becoming brittle and snapping during a cold winter morning.
A well lubricated door moves much faster and puts less strain on your expensive electric opener motor. I try to do this every six months to keep the operation smooth and quiet for my family.
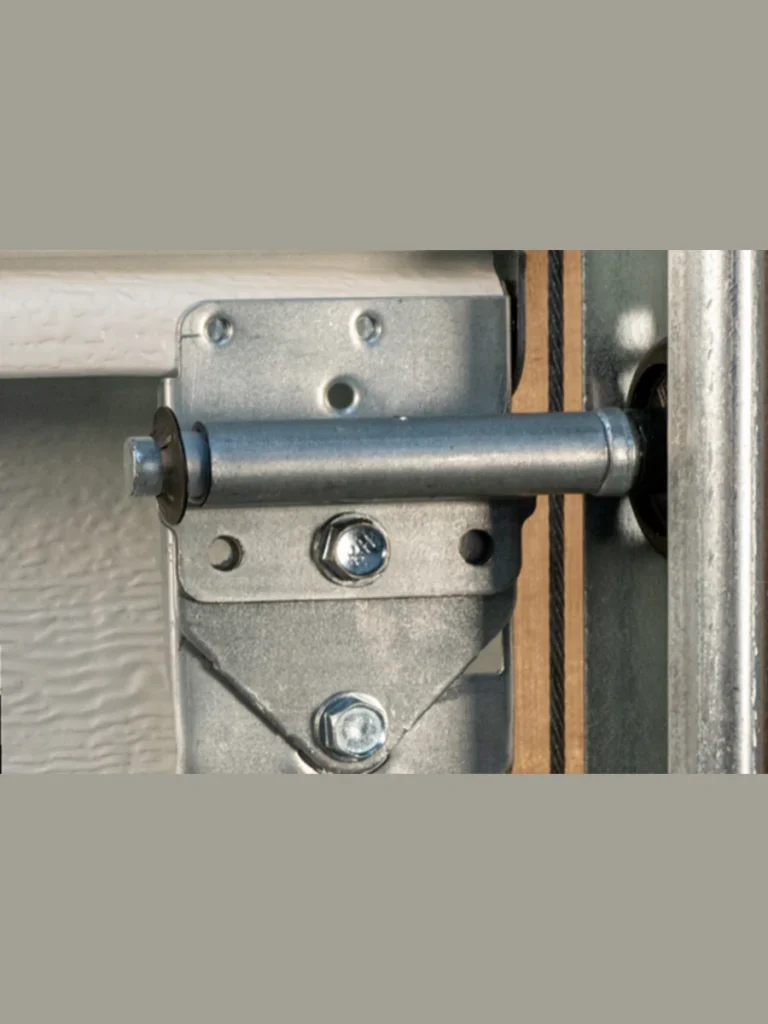
2. Tighten Every Loose Bolt On The Tracks And Hinges
The constant vibration of a heavy door opening and closing will eventually loosen the hardware over time. I spent twenty minutes last month tightening the nuts on my track brackets and the noise vanished immediately.
You only need a basic socket wrench to ensure the tracks stay firmly attached to the garage walls. I recommend checking the hinges that hold the panels together since they take most of the physical stress.
Be careful not to over tighten the bolts because you might strip the metal or crack the door material. I just look for any visible gaps between the hardware and the door surface to find the culprits.
This is the most affordable repair idea because it costs nothing but a few minutes of your afternoon. Keeping everything tight prevents the door from shifting out of alignment and getting stuck halfway up.
3. Clean The Tracks To Remove Debris And Old Grease

I used to think my tracks needed grease, but I learned that clean tracks are actually much better. Sticky residue inside the metal channels often causes the rollers to slide instead of rolling properly.
You can use a damp rag and a mild degreaser to wipe away the black gunk that builds up. I found that even a small pebble stuck in the track can cause the door to jump.
Avoid using harsh chemicals that might damage the paint or the finish on your garage door panels. I simply dry the tracks with a clean microfiber cloth after I finish the scrubbing process.
Once the tracks are clear, you will see a massive improvement in how the door travels up and down. It is a satisfying job that makes the whole system feel brand new without buying any parts.
4. Replace Worn Out Weather Stripping Around The Frame
I felt a cold draft coming through my garage and realized my old rubber seals were cracked. Replacing the weather stripping is a great repair idea that also helps lower your home energy bills.
You can find rolls of vinyl seal at any local hardware store that easily nail into the wood. I like to measure twice and cut once to ensure the seal sits tight against the door.
This repair stops rain and snow from leaking into your garage and damaging your stored boxes. I noticed it also keeps out small pests that look for warm places to hide during the night.
A fresh seal makes the whole garage look cleaner and more finished from the outside of the house. It is a simple weekend project that provides immediate comfort for anyone working in the garage space.
5. Swap Plastic Rollers For Quiet Nylon Versions
I remember how much my garage used to shake the whole house until I switched to nylon rollers. These rollers are much quieter than the standard steel ones and do not require constant oiling.
The installation is straightforward because you just slide the old ones out and pop the new ones in. I found that high quality nylon rollers with ball bearings last much longer than the cheap factory parts.
You will notice the difference immediately as the door glides up without that harsh metal-on-metal grinding sound. It is a small investment that makes your home feel much more peaceful during the early morning.
Make sure you handle one roller at a time so the door stays securely in the tracks. I always feel like a pro after finishing this swap because the results are so instantly noticeable.
6. Realign The Safety Sensors To Ensure Smooth Closing
I have spent way too much time shouting at my garage door when it refused to close for no reason. Most of the time, the tiny safety sensors at the bottom were just slightly bumped out of place.
You need to make sure the small lights on both sensors are glowing steadily without any flickering. I usually just loosen the wing nut and nudge the bracket until the beam connects perfectly again.
Check for any cobwebs or tall grass that might be blocking the invisible line between the two units. I once found a spider web that was driving my opener crazy every time the wind blew.
This repair costs nothing and prevents you from having to hold down the wall button manually every night. It is a quick fix that ensures your family and pets stay safe while the door moves.
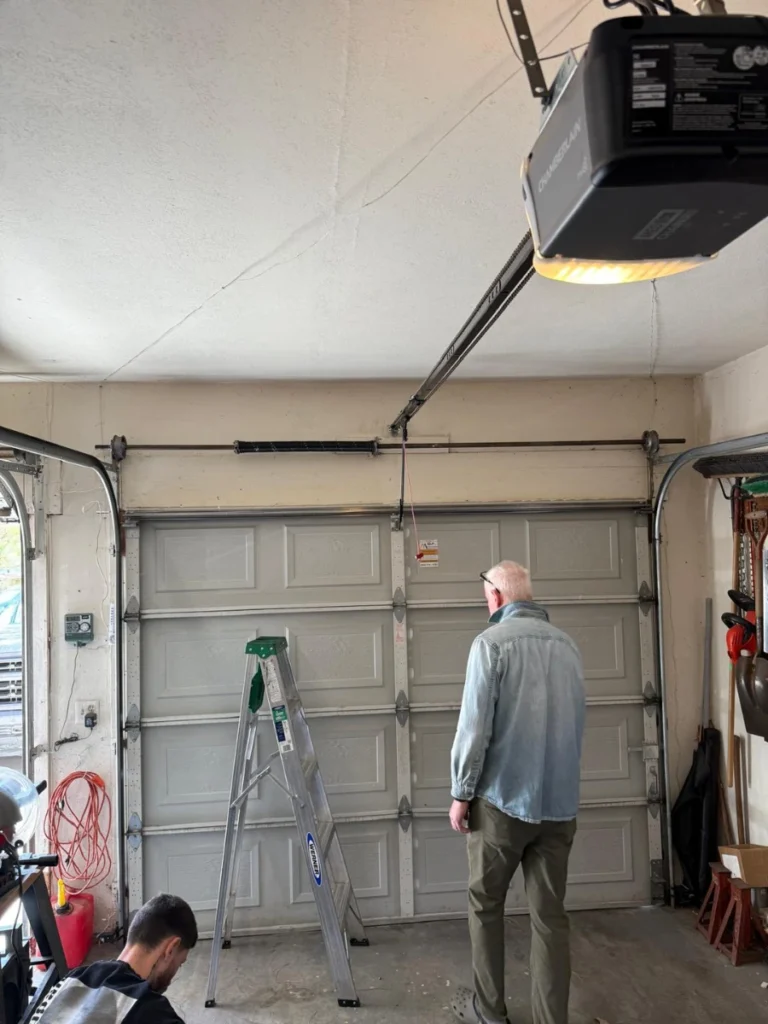
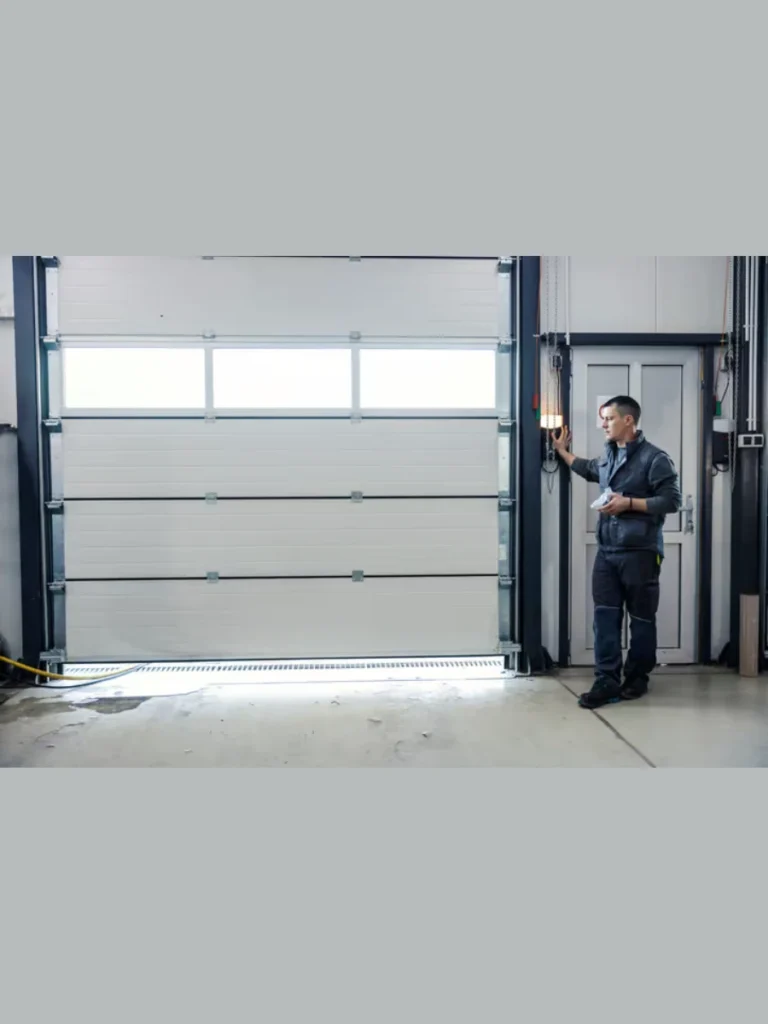
7. Inspect And Balance The Door Manually
I like to test the balance of my door every few months to make sure the motor isn’t working too hard. You just need to pull the emergency release cord and lift the door halfway by hand.
If the door stays in place without falling or snapping upward, your springs are perfectly balanced. I noticed that an unbalanced door can burn out an expensive opener motor in just a few seasons.
When the door feels heavy or slams down, it is a sign that your springs need professional attention. I never try to adjust the springs myself because the high tension can be quite dangerous.
Testing the balance gives you a great idea of the overall health of your garage door system. I find it much cheaper to catch a balance issue early before it breaks other mechanical components.
8. Clear The Photo Eye Lenses From Dust And Grime

I often forget that the sensors near the floor are constantly exposed to dust and lawn clippings. A dirty lens can trick the system into thinking there is an object in the way.
I use a soft cloth and a tiny bit of glass cleaner to wipe the lenses every few weeks. You should avoid using abrasive pads that might scratch the plastic and ruin the sensor signal.
It is amazing how a five second cleaning can solve a problem that looks like a major electrical failure. I keep a clean rag in my garage cabinet just for this specific task to keep things simple.
This is a great habit to start if you live in a dusty area or have kids playing nearby. Keeping the eyes clear ensures the door responds to your remote on the very first click every time.
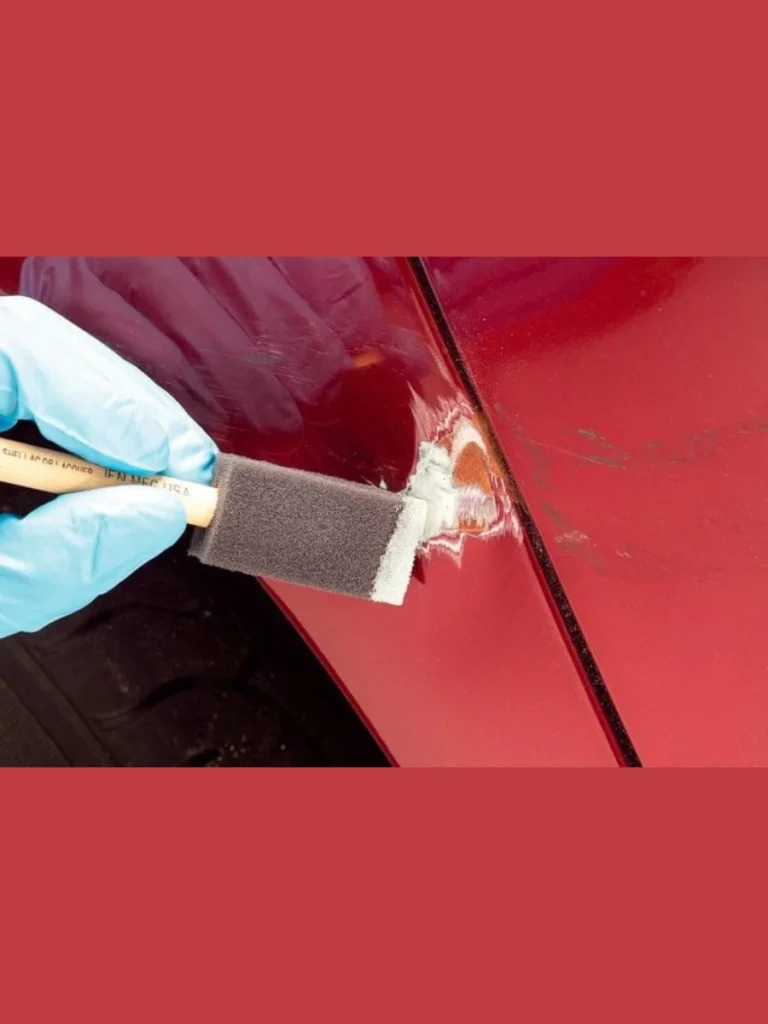
9. Repair Small Dents In Aluminum Panels

I once accidentally backed into my door and left a small, ugly dent right in the middle. You can actually fix minor dings in metal doors using a bit of heat and some compressed air.
I start by heating the dented area with a hair dryer for a few minutes until it is warm. Then, I quickly spray it with a can of cold air held upside down to pop the metal back.
If the dent is too deep for that trick, a little bit of auto body filler works wonders. I just sand the area smooth and apply a matching coat of paint to hide the repair completely.
Fixing these small cosmetic issues keeps your home looking sharp and prevents rust from starting in the creases. I enjoy seeing the door look flat and clean again without paying for a new panel.
I am wrapping things up with these final touches to ensure your garage door is the envy of the neighborhood. We have covered the mechanical side, so now let’s look at the finishing details that make a huge difference.
10. Replace The Bottom Rubber Seal To Block Pests
I realized my old bottom seal was basically a welcome mat for mice and cold air after a few years. Sliding a new rubber gasket into the bottom track is one of the best garage door repair ideas for winter.
You can buy these seals in long rolls and trim them to fit your specific door width perfectly. I find that a little bit of soapy water helps the new rubber slide into the metal grooves much easier.
This thick barrier keeps water from pooling inside your garage during heavy rain or melting snow. I noticed that a tight seal also stops leaves from blowing under the door and creating a mess.
It is a satisfying DIY task that immediately improves the insulation of your entire home. I always feel better knowing my garage floor will stay dry no matter what the weather looks like outside.
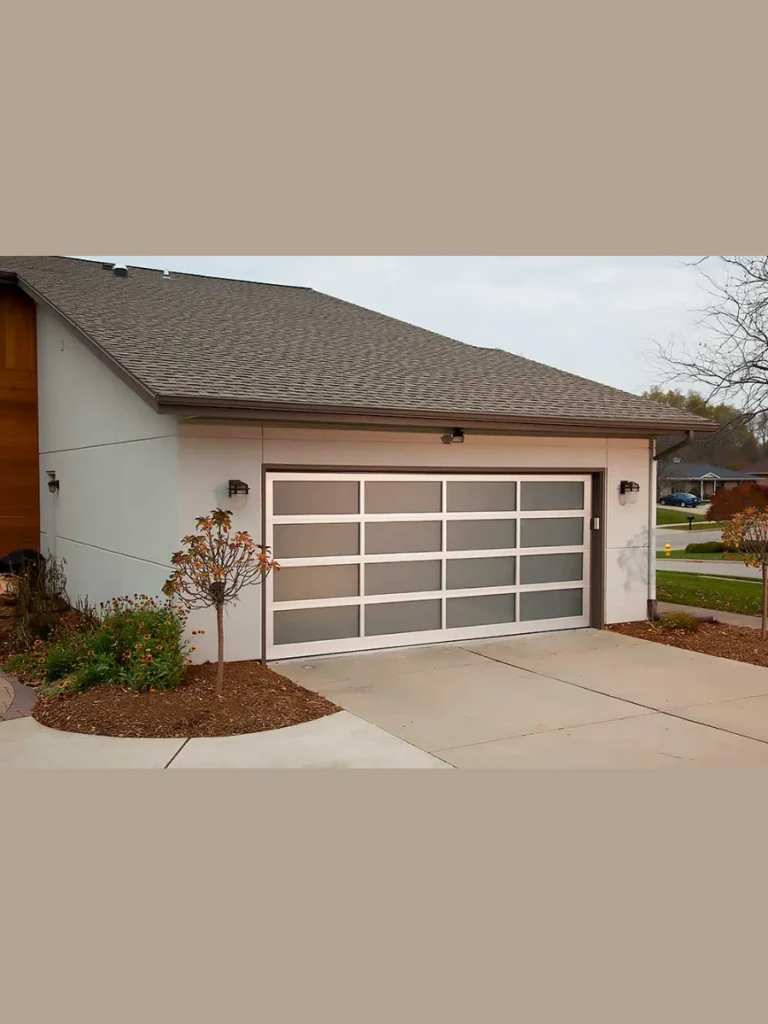
11. Touch Up Chipped Paint To Prevent Metal Rust
I noticed tiny orange spots on my door last spring and knew I had to act fast before they grew. Sanding down small rust patches and applying a matching primer is a simple way to save your door panels.
You should use a high quality exterior paint that can handle the direct sun and heavy rain without peeling. I usually keep a small jar of the original door color in my workshop for quick touch ups.
This repair prevents the metal from thinning out and eventually developing holes that you cannot fix. I like to do a full walkthrough once a year to catch these spots before they become a major headache.
A fresh coat of paint makes an old door look like it was installed yesterday for a very low cost. It is a great way to boost your home value while protecting your investment from the elements.
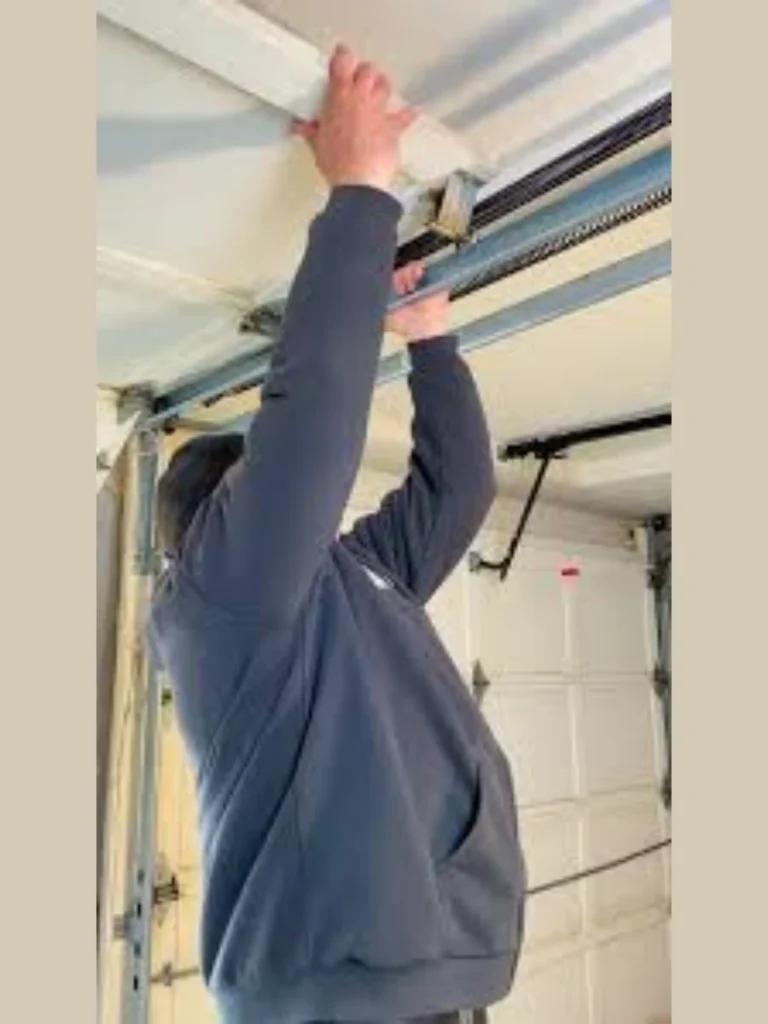
12. Reset The Limit Switches On Your Opener Motor

I once had a door that would hit the floor and then bounce back up a few inches every time. This usually means the limit switches on your opener motor need a quick adjustment with a screwdriver.
You can find the adjustment screws on the side of the motor unit hanging from your garage ceiling. I just turn them a quarte -inch at a time until the door rests perfectly flat on the ground.
This prevents the motor from straining itself by trying to push the door further than it can actually go. I found that it also stops the door from vibrating against the tracks when it reaches the top.
It is a simple calibration fix that most people assume requires a professional technician to solve. I love how much smoother the whole cycle feels once the travel limits are set correctly.
13. Install Decorative Hardware For An Instant Facelift
I wanted a high-end look without the high end price tag, so I tried some magnetic handle kits. These “repairs” mask old screw holes or scratches while giving your door a classic carriage-house style.
The magnets are incredibly strong and stay in place even when the door moves at full speed. I was surprised that my neighbors actually thought I bought a brand-new custom door for the house.
This is the easiest idea on my list because it requires absolutely no drilling or heavy lifting at all. I just wiped the door clean and snapped the handles and hinges into place in under five minutes.
It is a fun way to finish your repair journey by adding some personality to your home exterior. I think it is the perfect reward after you have done all the hard work of fixing the mechanical parts.
Helpful Tips For Successful Garage Door Repairs
I always keep a small kit of essential supplies in my garage so I am ready for any unexpected issues. Having your lubricant, wrenches, and cleaning supplies in one spot saves a lot of frustration during a project.
- Safety First: Always unplug the opener motor before you start working on any moving parts.
- Use the Right Tools: A basic socket set and a sturdy ladder are your best friends for these tasks.
- Documentation: I take a quick photo of the hardware before I take it apart so I know exactly how it goes back.
- Know Your Limits: If a task feels too heavy or dangerous, there is no shame in calling a pro.
Conclusion
I hope these garage door repair ideas help you take control of your home maintenance without feeling overwhelmed. We have looked at everything from quiet nylon rollers to simple paint touch ups that keep your door looking great.
Taking the time to handle these small tasks now prevents expensive emergency repairs down the road while keeping your family safe.
I really believe that any homeowner can handle these thirteen steps with just a little bit of patience and some basic tools. Your garage door is the largest moving part of your home, so giving it some love once in a while is a smart move.
Start with the easy cleaning and lubrication today, and you will hear the difference the next time you pull into your driveway.
FAQs
I recommend applying a high quality silicone spray to all moving metal parts at least every six months.
I strongly advise against trying to fix or replace torsion springs because they are under extreme tension.
A grinding sound usually means your metal rollers are worn out or your tracks are filled with old, sticky grease.
This is almost always a sign that your safety sensors are dirty or have been bumped out of alignment. Wipe the lenses with a soft cloth and make sure the small lights on both sides are glowing steadily.
If the dent is small and hasn’t cracked the metal, you can often pop it out with heat and cold air.