
Railings play a big role in both safety and appearance, and small changes can make a huge difference. I’ve noticed that the right tips and tricks can save time, money, and effort while making railings look better and last longer.
If you’re working on a staircase, balcony, or outdoor deck, you don’t always need a full replacement. Simple adjustments and smart techniques can upgrade your railing quickly without making things complicated.
In this guide, I’ll share practical railing tips and tricks that actually work in real life. These are easy to apply and based on real usage, not theory.
Why Smart Railing Tips Matter Before You Start
Small improvements in railing setup can prevent bigger problems later. I always focus on getting the basics right before adding design elements.
Proper planning helps avoid uneven installation, weak joints, and wasted materials. It also makes the entire project smoother and less stressful.
Another benefit is cost control, because fixing mistakes later always costs more. Simple tips early on can save both time and money. I personally follow a step-by-step approach because it keeps everything organised and easy to manage.
1. Measure Everything Twice Before Installation
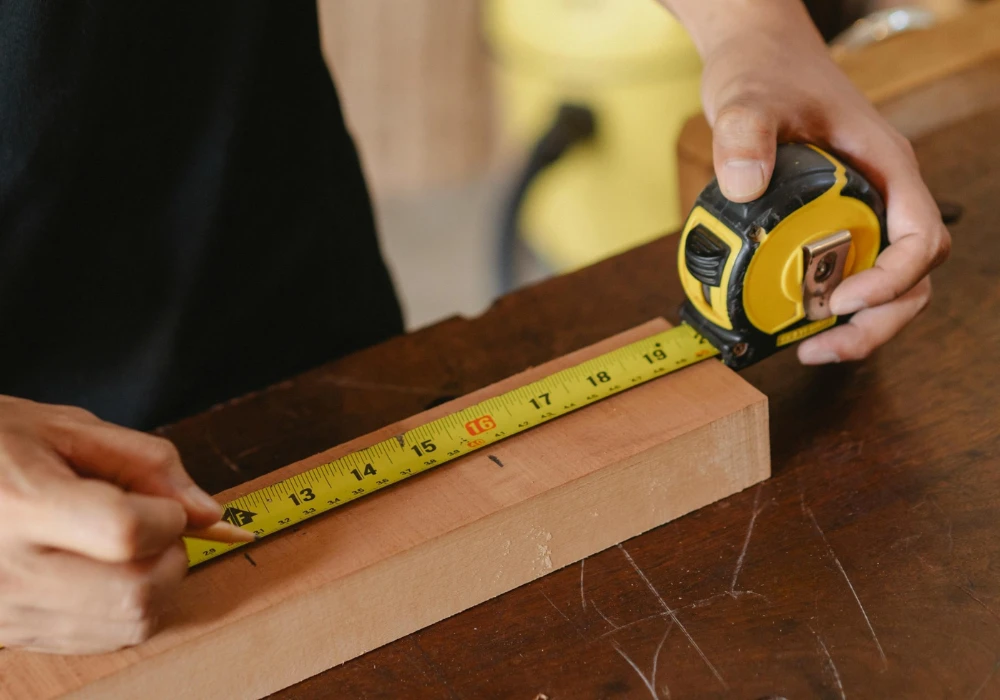
Accurate measurement is the foundation of a strong railing setup. I always double-check dimensions before cutting or fixing anything.
Mark all positions clearly for posts and balusters to avoid confusion later. This helps keep spacing even and visually clean.
For stairs, follow the slope carefully to maintain proper alignment. A small mistake here can affect the entire railing. I’ve learned that taking extra time in measuring prevents most installation issues.
2. Use a Level at Every Step
Keeping everything straight is more important than people think. I use a level after installing each post and rail.
Even slight tilts can make the railing look unprofessional. It also affects comfort when using the handrail.
Check both horizontal and vertical alignment during installation. This ensures the final result looks clean and balanced. I never skip this step because it guarantees a neat finish.
3. Pre-Drill Holes to Avoid Cracks
Pre-drilling is a simple trick that protects your material from damage. I always drill small guide holes before inserting screws.
This is especially important when working with wood. It prevents splitting and keeps the surface smooth.
Use a drill bit slightly smaller than your screw size for better grip. This improves overall strength. I rely on this trick because it makes installation easier and cleaner
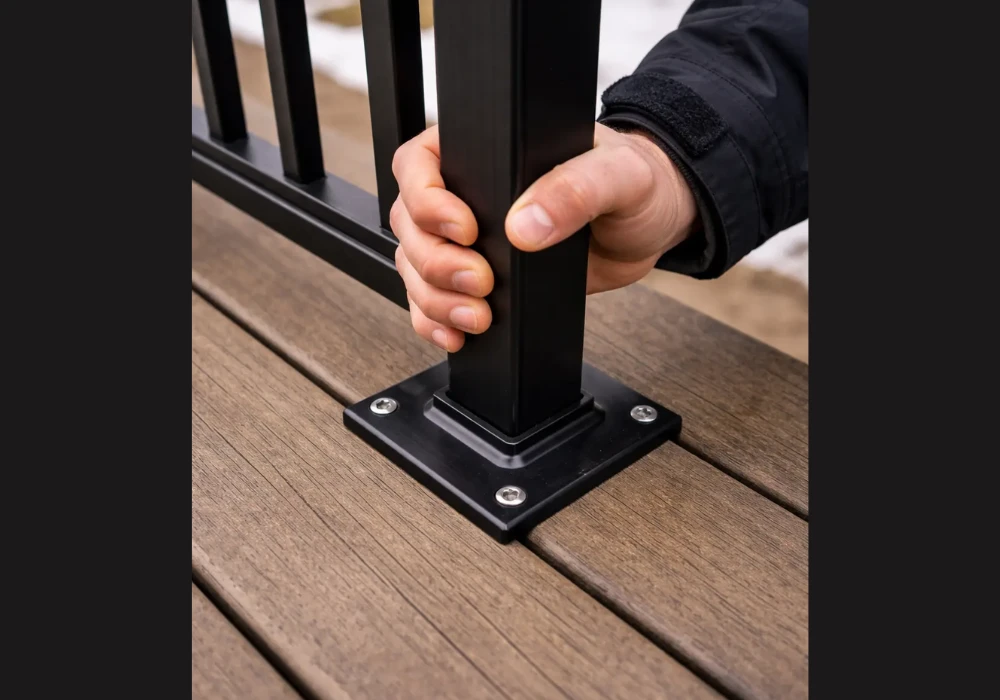
4. Secure Posts as Strong as Possible
Posts are the backbone of any railing system. I always make sure they are tightly fixed before adding anything else.
Use strong anchors or brackets depending on your surface type. Loose posts can make the whole railing unsafe.
Check stability by applying pressure before moving forward. If it moves, fix it immediately. From my experience, strong posts mean a long-lasting railing.
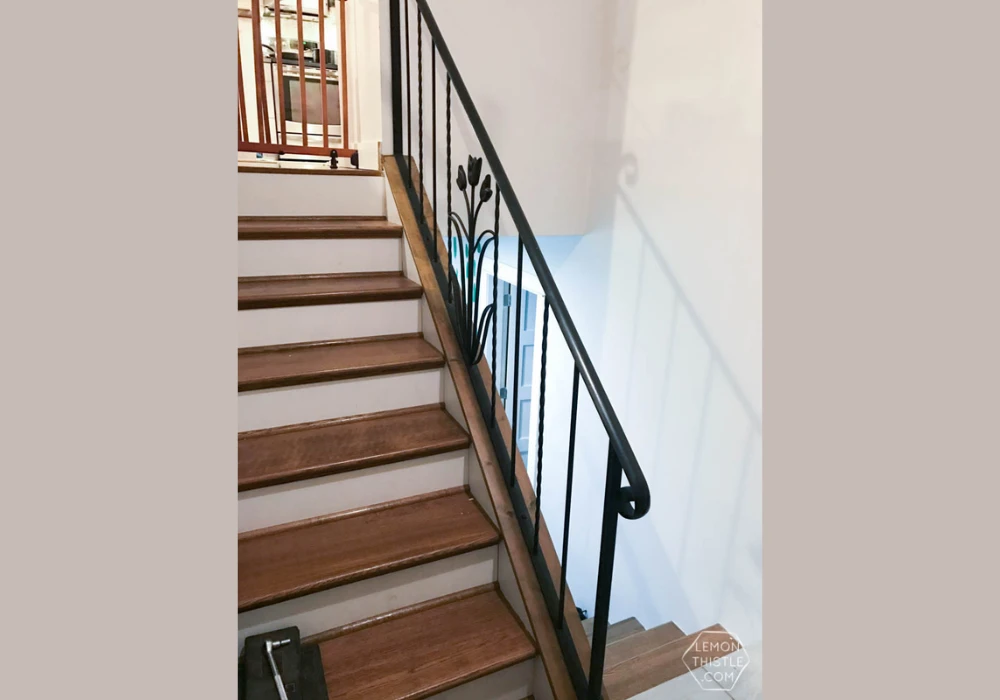
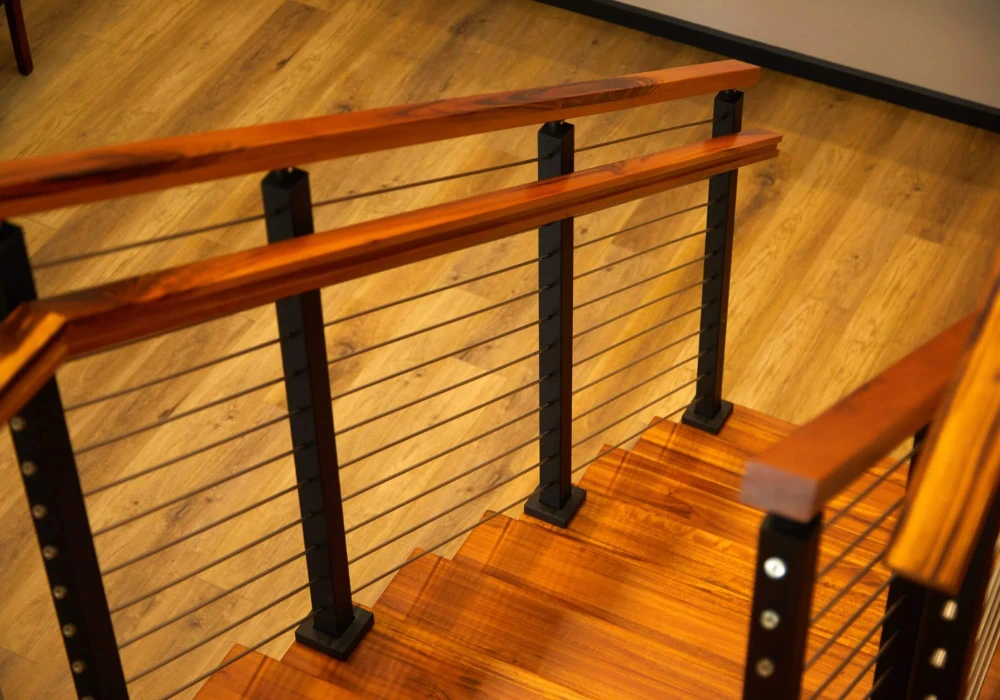
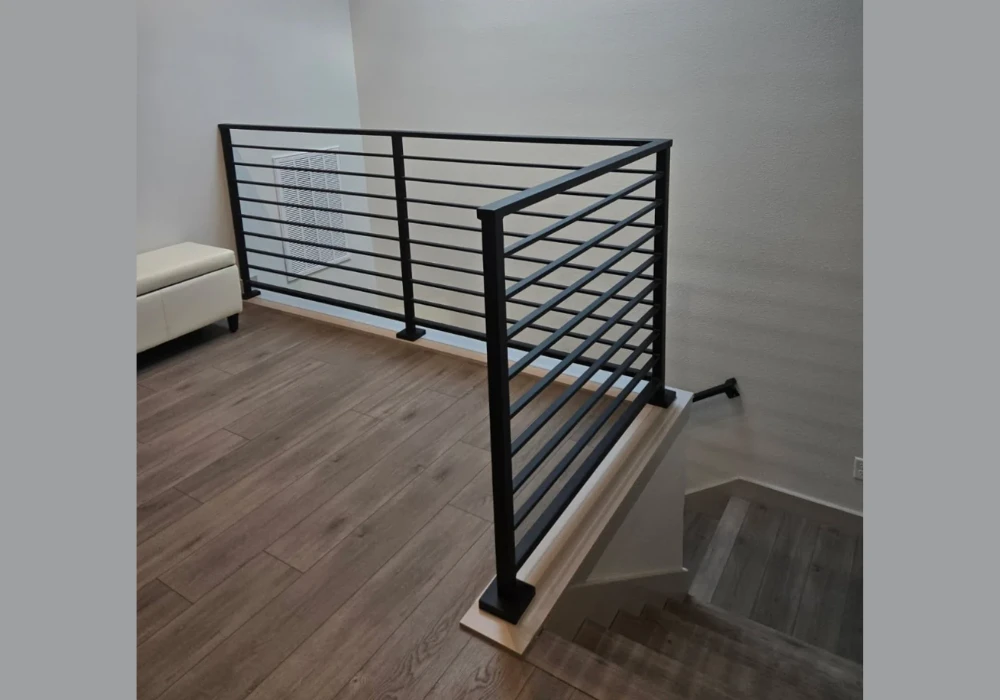
5. Maintain Proper Baluster Spacing
Spacing between balusters is not just about looks; it’s about safety. I keep the gap within safe limits to avoid risks.
Even spacing also improves the overall appearance of the railing. It creates a clean and organised look.
Use a spacer tool or template to keep measurements consistent. This saves time during installation. I always focus on spacing because it affects both safety and design.
6. Choose Weather-Resistant Materials
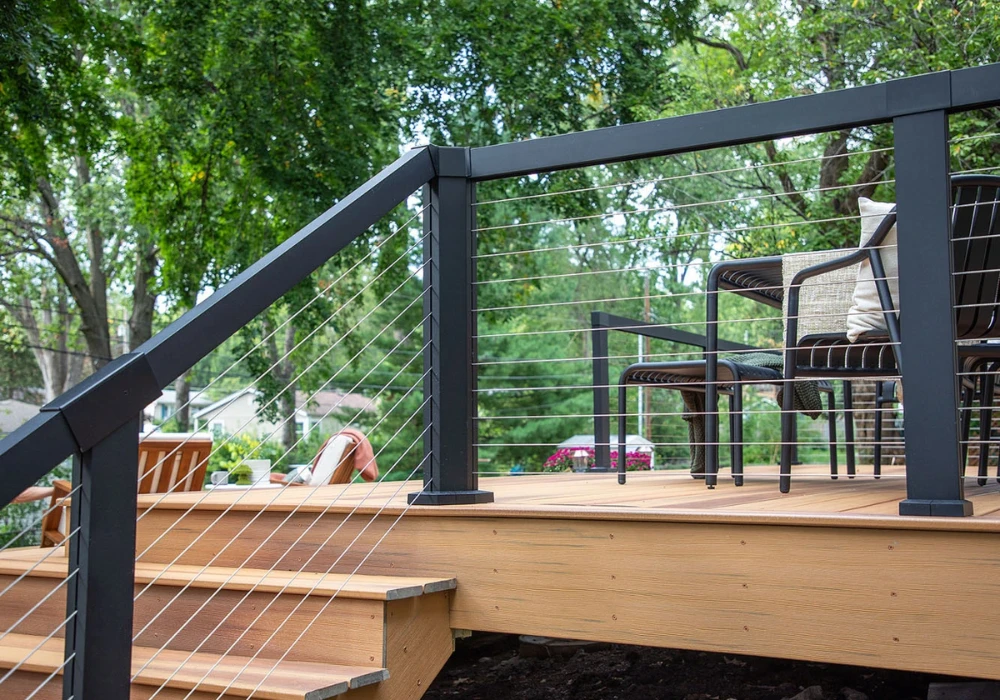
Material selection decides how long your railing will last. I prefer weather-resistant options for outdoor areas.
Wood should be sealed properly, while metal should have an anti-rust coating. This protects against damage.
Composite materials are also a great choice for low maintenance. They handle moisture and sunlight better. I choose materials carefully because replacing them later is costly.
7. Apply Protective Finishes Early

Finishing your railing early protects it from wear and tear. I always apply paint, stain, or sealant before heavy use.
This adds a protective layer against moisture, dust, and sunlight. It also improves the overall look.
For outdoor railings, use finishes designed for weather exposure. This increases durability. I see finishing as a small step that makes a big difference.
8. Use the Right Fasteners for Strength
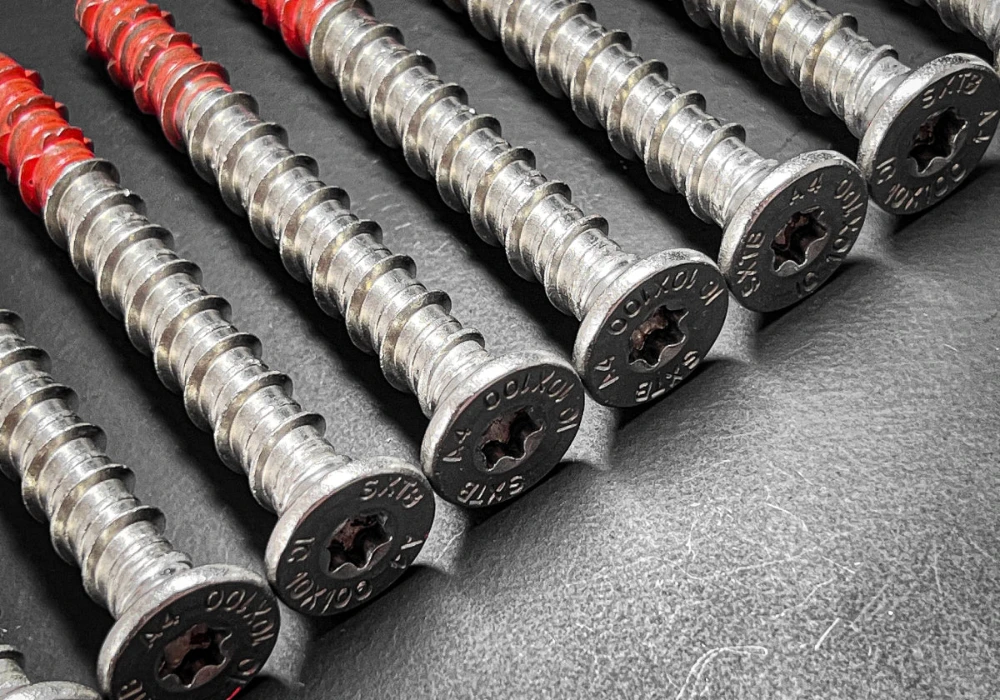
Using proper screws and bolts is essential for a secure railing. I always match fasteners with the material type.
Stainless steel fasteners work best for outdoor projects. They resist rust and stay strong over time.
Avoid using low-quality hardware as it can loosen quickly. This creates safety issues. I always invest in good fasteners because they hold everything together.
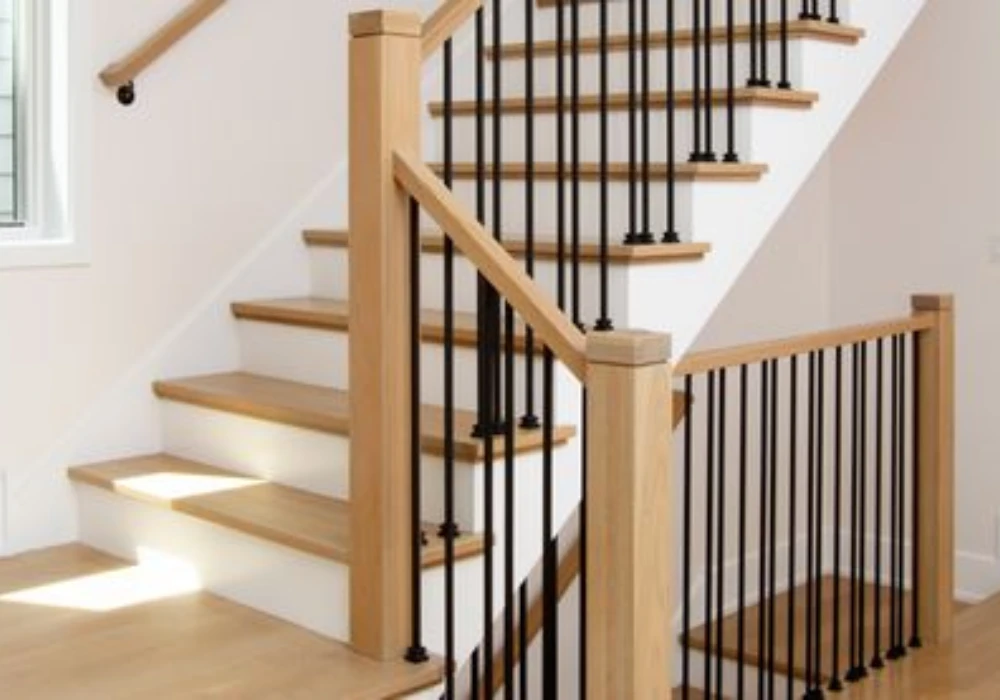
9. Add a Bottom Rail for Extra Support
A bottom rail adds stability and improves structure. I include it especially in larger railing setups.
It helps keep balusters aligned and reduces movement over time. This improves strength.
It also gives the railing a more complete and finished appearance. I like this trick because it improves both design and durability.
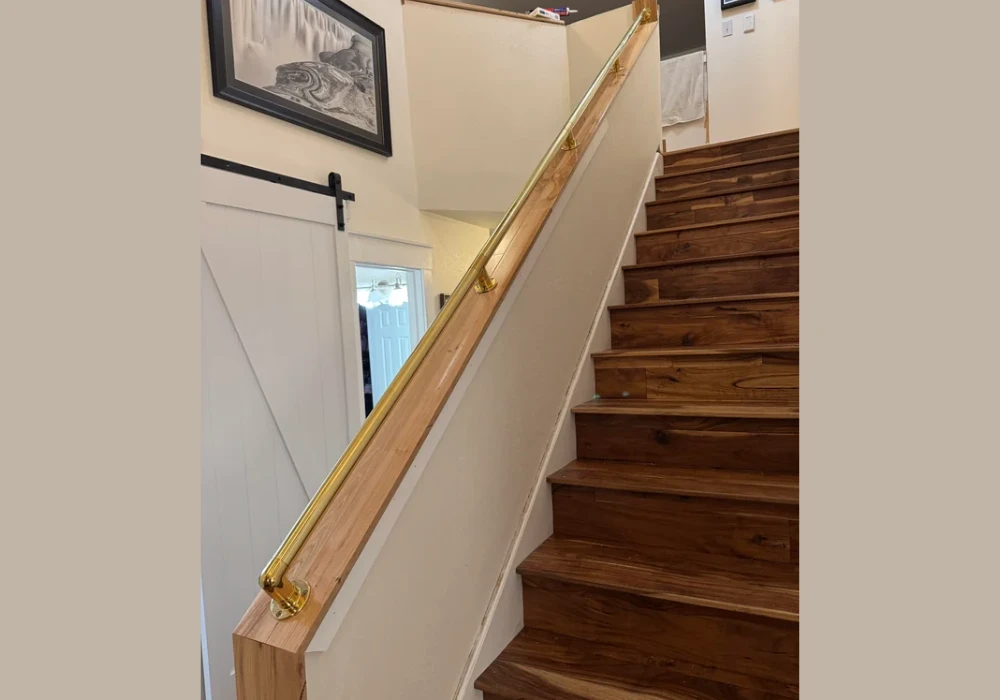
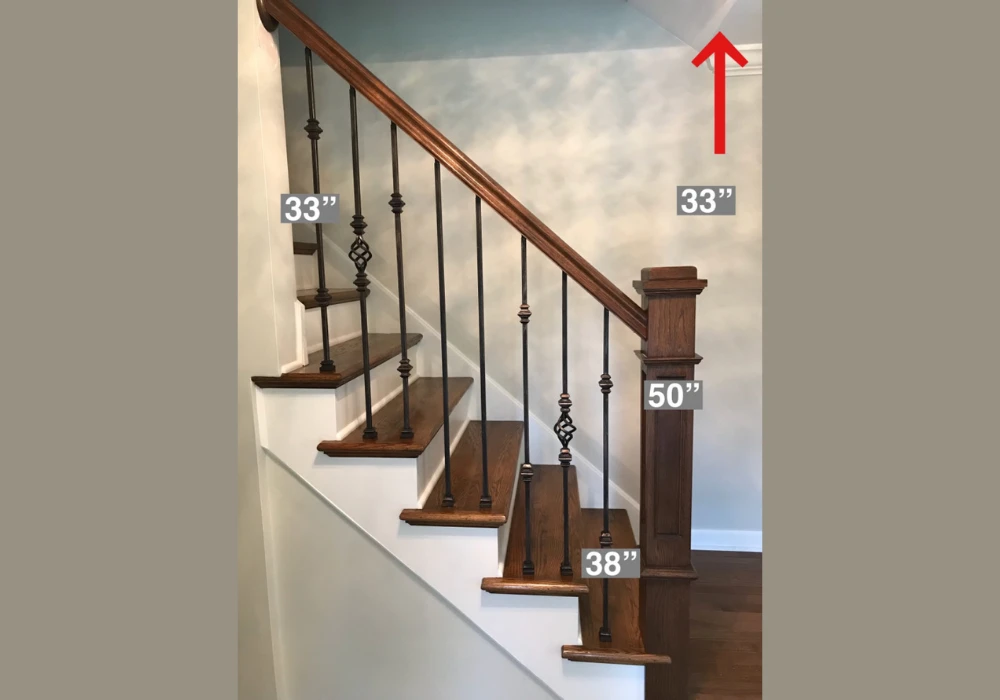
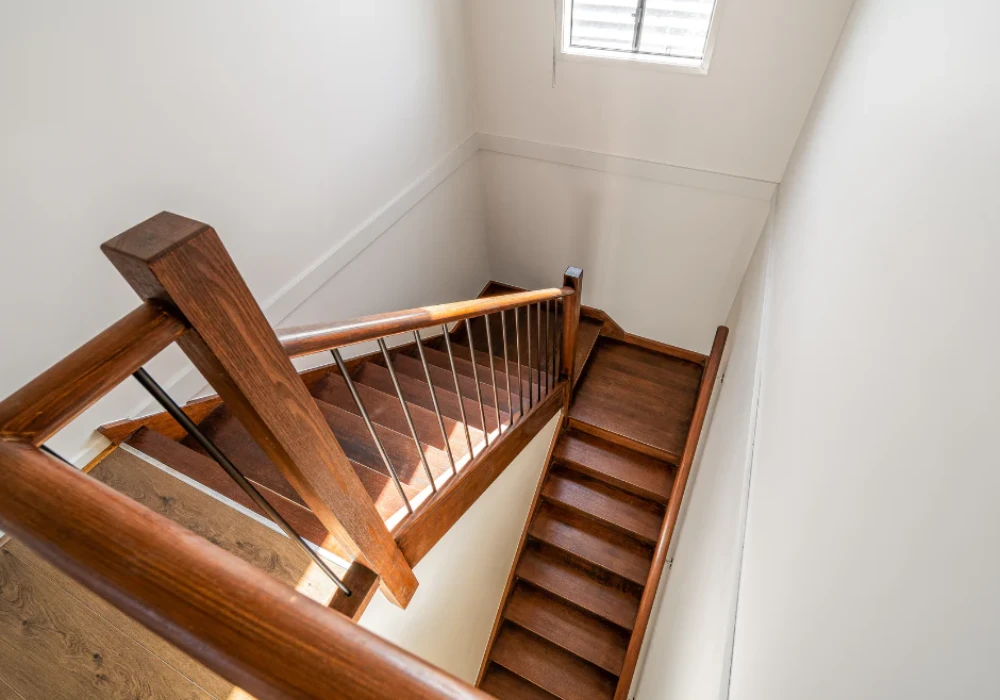
10. Keep Handrail Height Comfortable
Handrail height should feel natural and easy to use. I follow standard height guidelines for better comfort.
Too high or too low can make it uncomfortable and unsafe. Proper height improves usability.
Measure from the stair nose or floor level to set the right height. This keeps everything consistent. I always test handrail height before final fixing.
11. Sand Surfaces for a Smooth Finish
Sanding makes a big difference in the final look. I smooth all surfaces before applying any finish.
It removes rough edges and prepares the material for paint or stain. This improves durability.
Use medium and fine sandpaper for the best results. This creates a polished finish. I never skip sanding because it improves both feel and appearance.
12. Add Lighting for Better Visibility
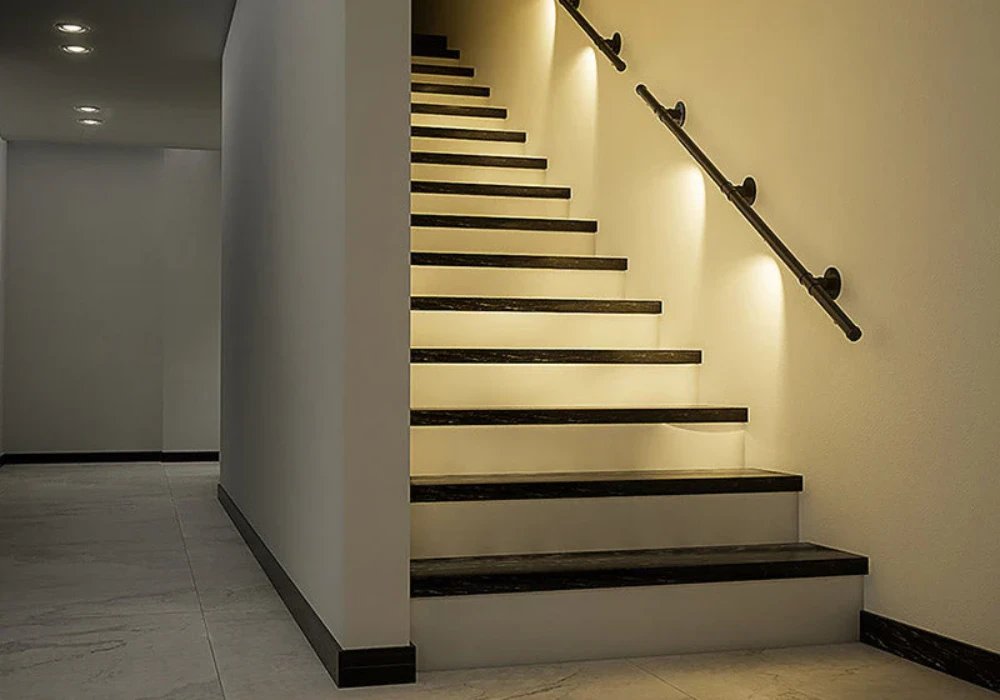
Lighting can improve both safety and design. I often add small lights to outdoor railings.
It helps people move safely at night and enhances the space visually.
You can use LED strips or solar lights, depending on your setup. Installation is simple. I like lighting because it adds function and style together.
13. Regularly Check for Loose Parts
Regular inspection helps keep railings safe. I check screws, joints, and posts every few months.
Loose parts can become dangerous if ignored. Fixing them early prevents bigger issues.
Tighten screws and replace damaged parts when needed. This keeps everything secure. I treat maintenance as part of the installation process.
14. Clean Railing Surfaces Properly
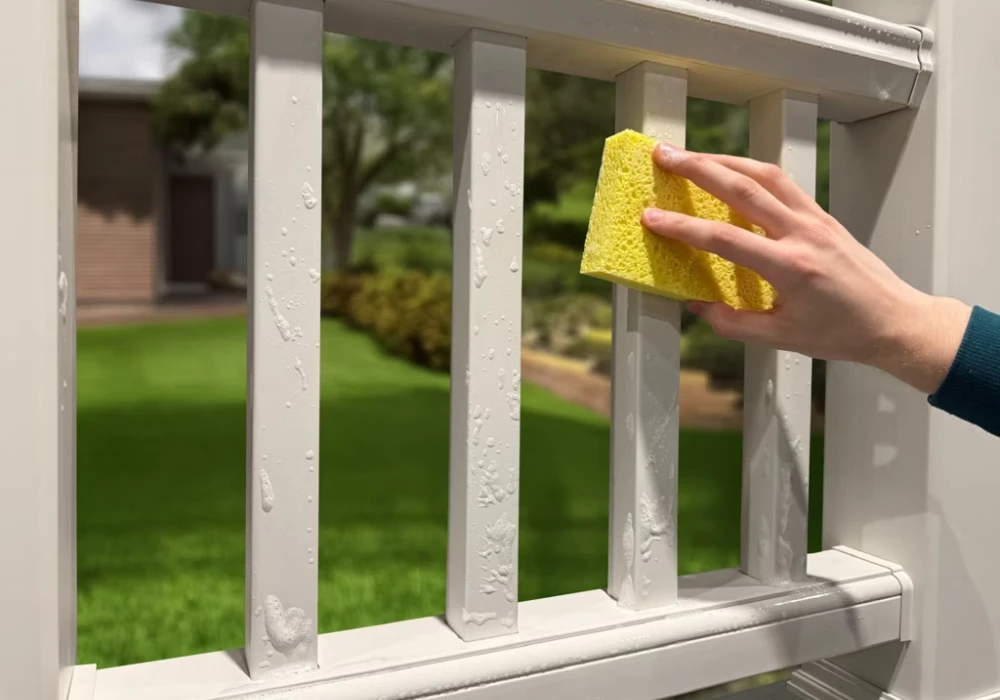
Cleaning keeps your railing looking fresh and new. I use simple cleaning methods based on the material.
Wood needs gentle cleaning, while metal may need anti-rust treatment. Glass requires streak-free solutions.
Regular cleaning also helps spot damage early. This makes maintenance easier. I keep cleaning simply but consistently for long-term results.
Quick Table for Common Railing Problems and Smart Fixes
| Sand and refinish the surface | Smart Trick | Check the level at every step |
|---|---|---|
| Loose posts | Tighten anchors and brackets | Improves stability fast |
| Wood cracking | Pre-drill before screws | Prevents split edges |
| Rust spots | Use anti-rust primer and paint | Stops further damage |
| Uneven railing | Check level at every step | Keeps lines straight |
| Faded finish | Reapply sealant or stain | Restores protection |
| Unsafe spacing | Use spacer blocks | Keeps gaps consistent |
| Slippery handrail | Sand and refinish surface | Improves grip |
| Dark outdoor steps | Add railing lighting | Improves visibility |
Conclusion
The best railing tips and tricks are usually the simple ones. Good measuring, strong fixing, safe spacing, and basic maintenance solve most problems before they grow.
A railing should feel solid, look clean, and match the space around it. You do not need complicated tricks when the basics are handled the right way.
I always believe smart railing work is about balance. It should be safe enough for daily use and attractive enough that you actually like looking at it.
If you follow these tips consistently, your railing will stay stronger, last longer, and look better without demanding constant attention.
FAQs
Start by checking the posts first because weak posts affect the whole railing. Tighten anchors, replace bad screws, and reinforce loose brackets.
Use a good outdoor sealant or stain and reapply it when the finish starts looking dry. This helps protect against moisture and sun damage.
Clean the surface, sand off rust spots, and apply anti-rust primer before repainting. Quick treatment stops the damage from spreading.
Painting or staining is usually the easiest upgrade. It refreshes the look fast and costs much less than full replacement.
I recommend a quick check every few months, especially for outdoor railings. Seasonal weather can loosen hardware faster than expected.
A safe general rule is to keep the gaps small and consistent. Wide spacing may look open, but it can create safety problems.
Yes, especially for outdoor stairs, decks, and patios. They improve safety at night and also make the railing look more polished.