

Installing a railing doesn’t have to be a daunting task. Whether you’re updating a staircase, installing a deck railing, or renovating your balcony, a new railing can transform your space and add both style and safety. While it may sound like a big project, with the right tools and a clear guide, installing a railing is totally doable, even for DIY beginners.
Why Install a Railing?
A railing isn’t just a safety feature, it’s also a key element of your home’s design. Railings help ensure stability, especially on staircases or balconies, while also contributing to the overall aesthetic of your space. They can be the finishing touch that ties the room or outdoor area together.
Whether you need a railing to meet building codes or just want to upgrade the look of your space, installing a railing is a great investment. It improves both the functionality and appearance of your home’s design.
Installing a railing can be a DIY-friendly project, and the right materials can make a huge difference in both style and durability. Now, let’s look at 11 railing installation ideas that can help you get the job done efficiently and beautifully.
1. Measure and Mark the Space Before Installation
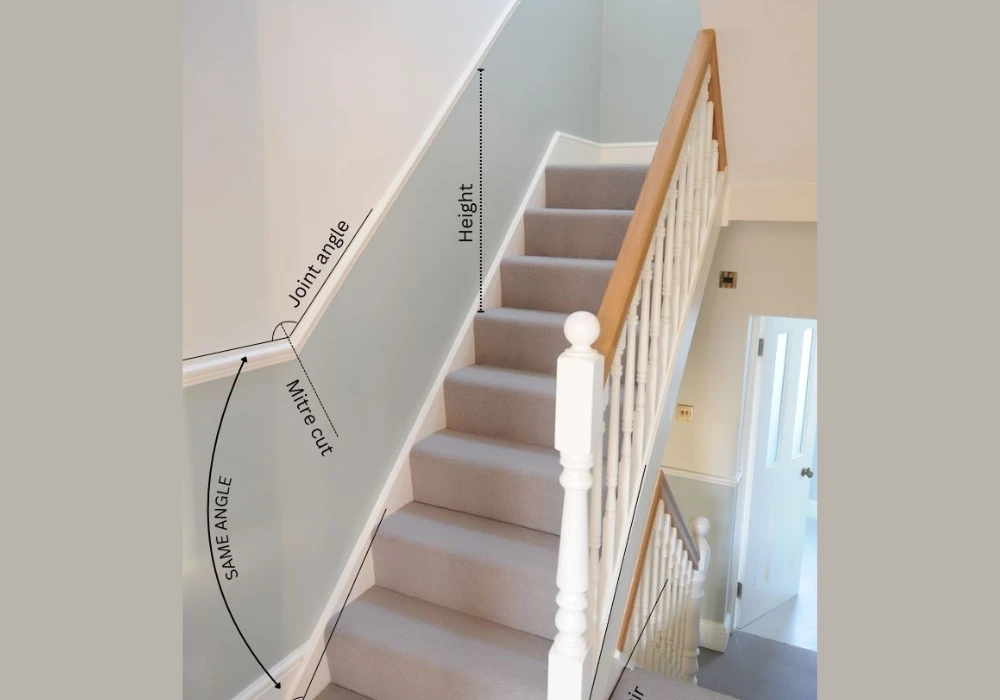
Before you even think about picking up a tool, accurate measurements are crucial. Measure the area where you plan to install the railing, whether it’s on a staircase, balcony, or patio. Taking these measurements will ensure you get the right materials and fit.
Start by marking where the posts will go, as well as the spacing for the balusters or spindles. Make sure the measurements are precise. This is a crucial first step to avoid any misalignments later in the process.
For stairs, be sure to account for the rise and run to ensure your posts and handrails are placed at the correct height and angle. This will ensure your railing is level and looks professional.
I love this first step because it’s the foundation of a solid installation. It’s also where most people make mistakes, so take your time and double-check everything!
2. Choose the Right Material for Your Railing
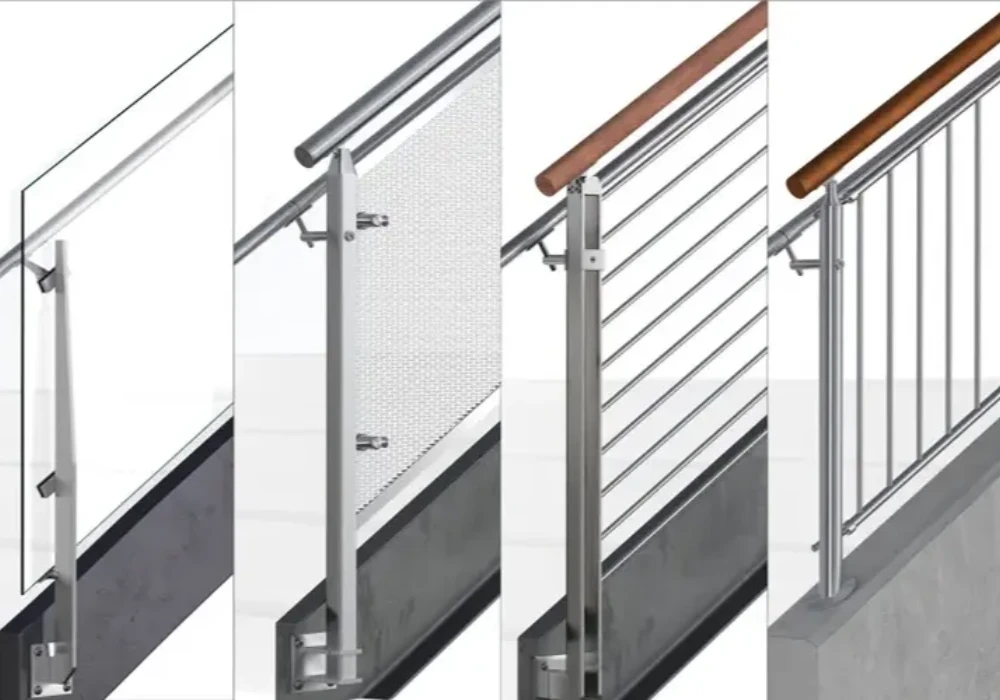
The material you choose for your railing will impact both the look and the durability of your installation. For a classic look, consider wood; for a more modern style, you might go with metal or glass. Composite is another great option for low-maintenance railings.
Think about the aesthetic you want to create. Wooden railings provide a traditional, rustic look and work well in farmhouse or rustic settings. Metal railings bring an industrial, sleek vibe, while glass railings offer a minimalist feel that allows for clear views.
Don’t forget about maintenance. Wood will need regular staining or painting, while metal and composite require much less upkeep.
I love how the right material choice can completely change the look and feel of a space. Whether you’re going for something classic or contemporary, your choice of material should match your style.
3. Pre-drill Holes for a Secure Fit
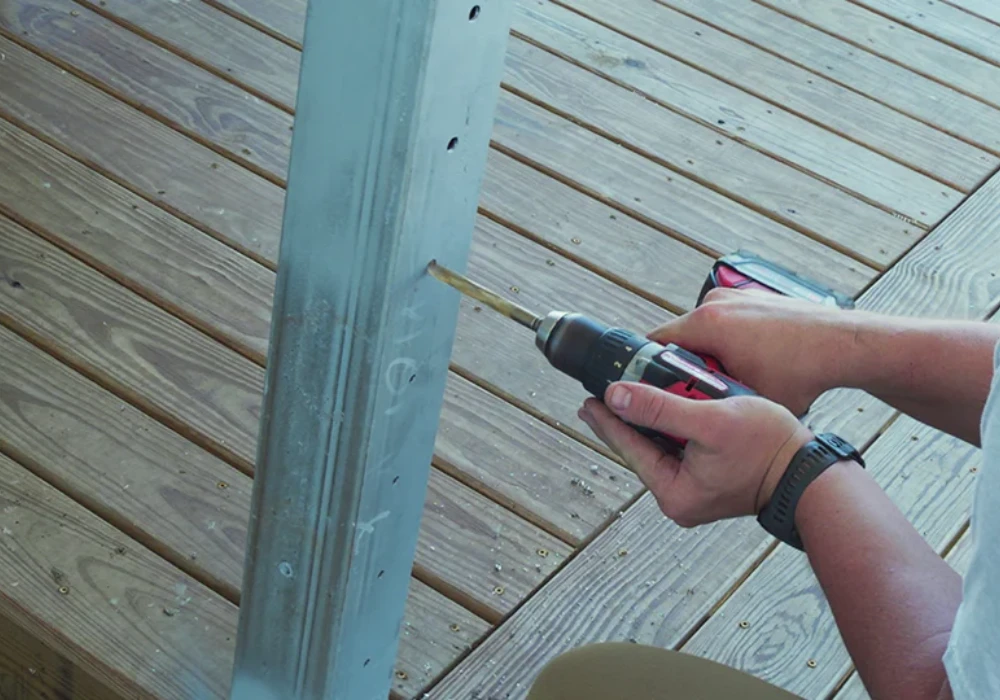
To make sure your railing is secure and sturdy, pre-drilling holes for screws is a key step. This is especially important if you’re installing railings into hard surfaces like wood or concrete.
Pre-drilling holes helps avoid splitting or damaging the material, especially when working with wood. Use a drill bit that is slightly smaller than the screws you plan to use, and be sure to drill straight to keep everything aligned.
Pre-drilling also makes the installation process smoother and prevents issues with misalignment during the process. You’ll thank yourself later for this step!
I love how pre-drilling ensures everything fits perfectly and saves time during installation. It’s a simple step that makes a big difference in how smooth the project goes.
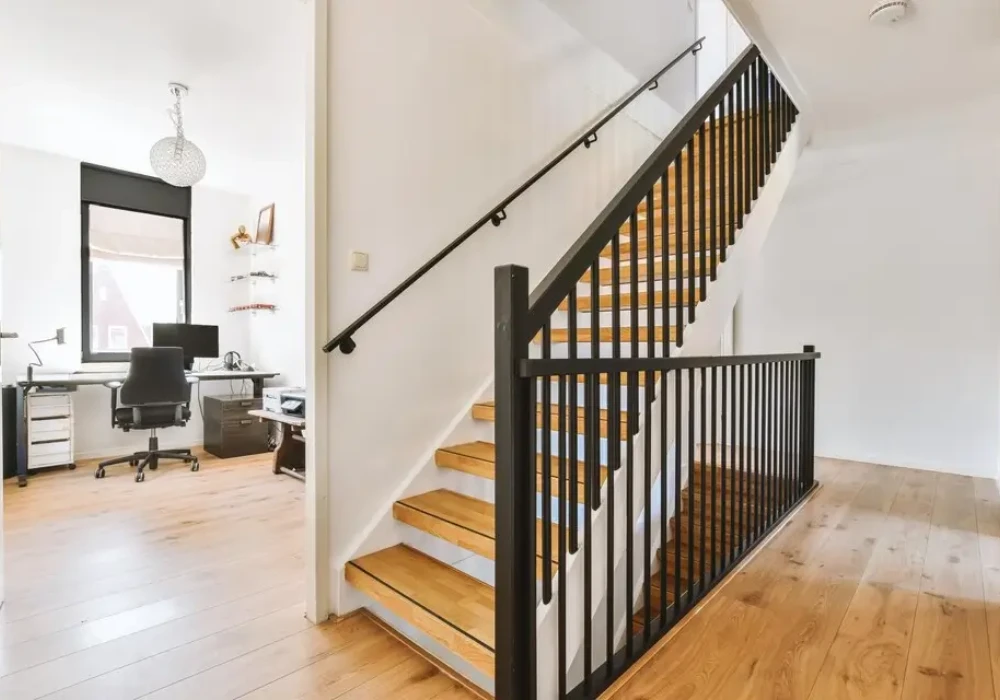
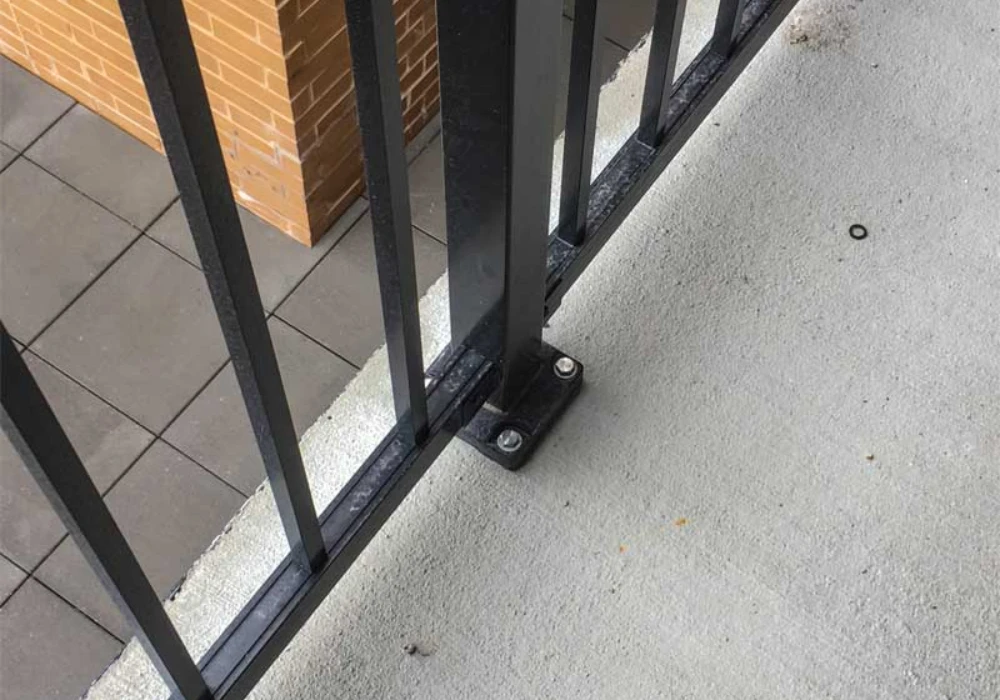
4. Secure Posts Firmly for Safety
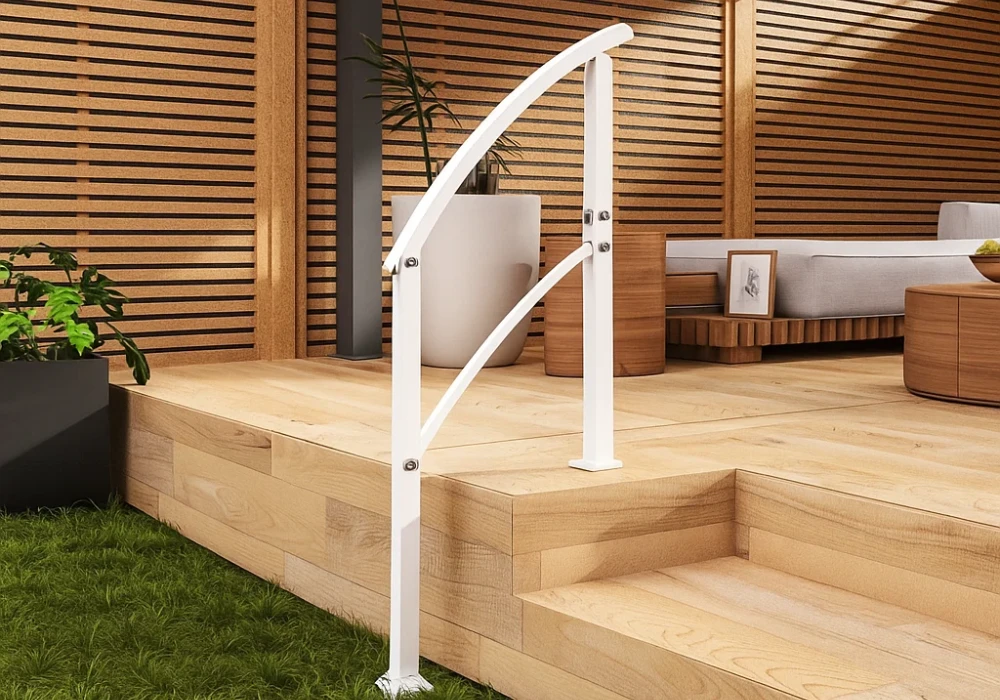
When installing a railing, securing the posts properly is essential for safety. The posts are the foundation of your railing, and if they’re not firmly installed, your entire railing can be unstable.
For wooden posts, you’ll need to drill holes for the anchors and secure them using concrete or brackets. If you’re installing posts in a concrete patio, make sure to use a concrete drill bit and anchor bolts to ensure a tight fit.
Safety is key, so make sure the posts are securely anchored before moving on to the next step. It’s better to take your time on this step than to rush through it.
I love that securing the posts is the foundation of the entire project. It guarantees that your railing will be strong and safe for years to come.
5. Install the Handrail for Support
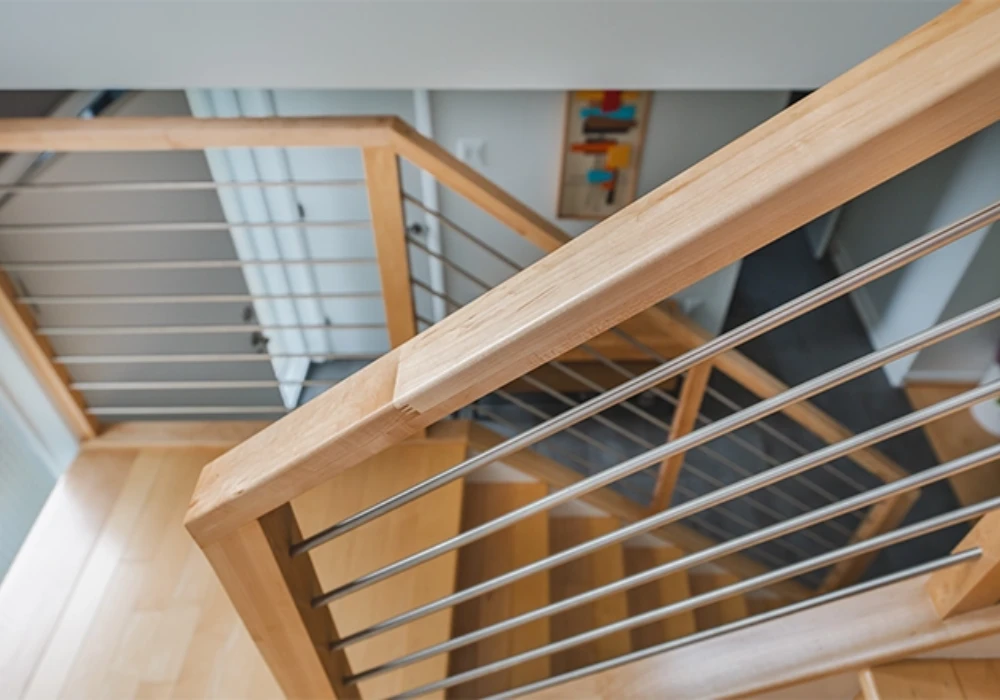
The handrail is the most crucial part of the railing when it comes to providing support. When installing, be sure the handrail is at the correct height for comfort and accessibility, typically around 36-38 inches high.
To install, attach the handrail brackets to the posts, then secure the handrail to the brackets with screws. Make sure the handrail is level and evenly spaced across the railing to ensure it looks polished.
For a cleaner look, use hidden brackets that won’t be visible when looking at the railing. This creates a more seamless, minimalist design.
I love the handrail because it’s both functional and stylish, providing support while contributing to the overall look of the railing.
6. Use Decorative Finials for an Artistic Touch
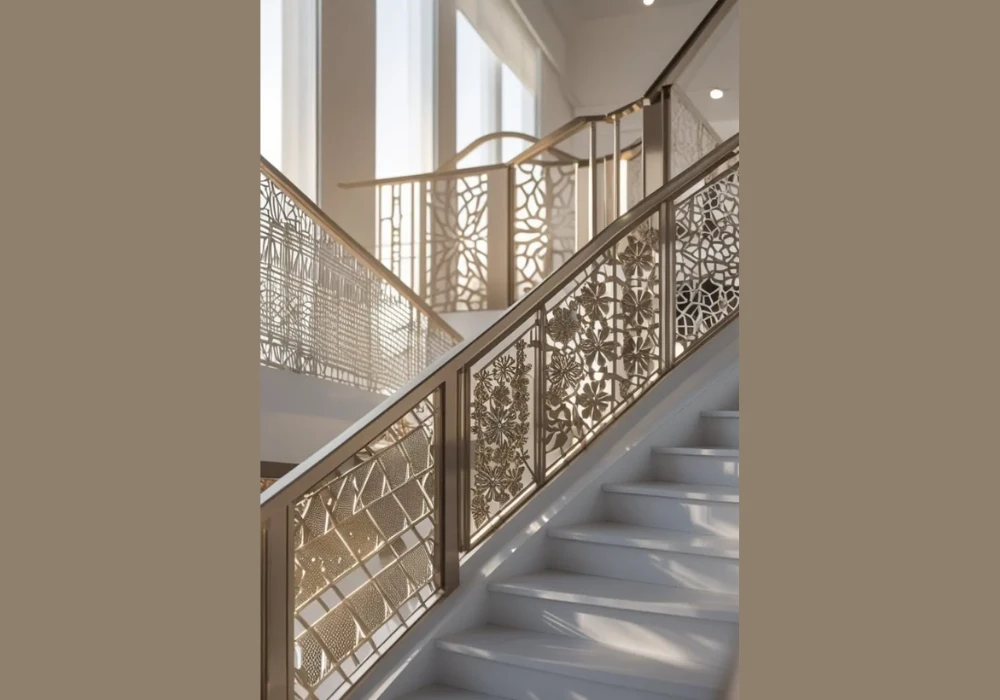
For a boho or classic touch, consider adding decorative finials to your railing. Finials are the small decorative caps that sit on top of the posts, adding visual interest and elegance to your design.
You can choose traditional finials, iron scrolls, or handcrafted wood designs that fit your overall aesthetic. Whether you opt for rustic, modern, or ornate finials, they’re a great way to personalize your railing.
Finials add a small but powerful accent that makes your railing feel more unique and thoughtfully designed.
I love the little details like finials because they add charm and character to a railing without making it look too busy or overwhelming.
7. Ensure Proper Spacing Between Balusters
When installing balusters or spindles, ensuring proper spacing is essential. If the gaps are too wide, it could pose a safety hazard, especially for children or pets. The recommended spacing is typically no more than 4 inches apart.
Use a gap template or measuring tool to ensure each baluster is evenly spaced. This will give your railing a polished, uniform appearance and prevent any gaps that are too wide.
I love how properly spaced balusters create a clean, uniform look while also ensuring safety. It’s an easy step to add to the installation process for a great result.
8. Use a Level to Ensure Even Alignment
To make sure your railing is perfectly straight and looks professional, always use a level during installation. Whether you’re installing posts, the handrail, or the balusters, a level ensures that everything is aligned and straight.
Using a level is especially important for handrails. This is a high-traffic area, so you want it to be comfortable and secure. Even slight misalignment can create visual inconsistency or make the railing difficult to use.
Take the time to check the alignment as you install each part. Small adjustments along the way will make a big difference in the final look and functionality.
I love using a level because it guarantees that my installation is spot-on. It ensures everything fits perfectly, giving the railing a polished, professional look.
9. Install the Bottom Rail for Extra Support
Installing the bottom rail is a crucial step for both structural integrity and aesthetics. It provides extra support and helps ensure the spacing between the posts and balusters is consistent.
This rail can also serve as a design element, providing a clean finish at the bottom of the railing. Whether you use wood, metal, or composite materials, the bottom rail ties everything together.
If you’re using metal balusters or glass panels, a bottom rail provides a stable foundation, especially when dealing with heavier materials. Be sure to secure it properly to keep everything firmly in place.
I love adding the bottom rail because it provides added stability while finishing off the design, giving the railing a complete, well-rounded look.
10. Sand or Finish Wood Railings for a Smooth Touch
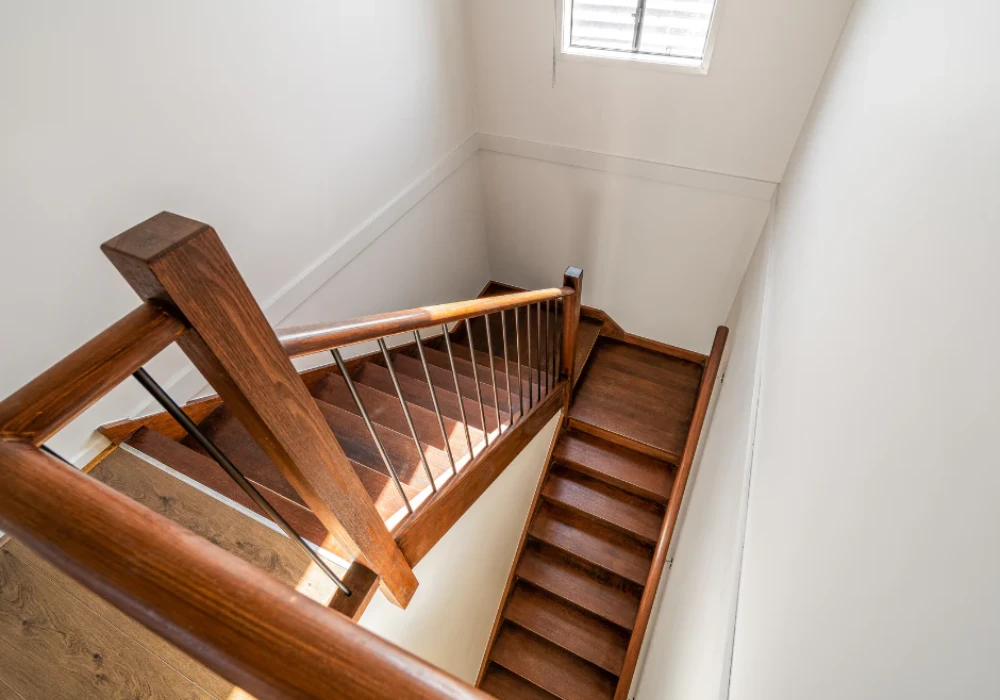
If you’ve chosen wooden railings for your installation, don’t forget to sand and finish them for a smooth, professional touch. Sanding the surface will remove any rough spots and prepare the wood for staining or painting.
Finishing your wooden railing with stain or paint can protect it from the elements and bring out the natural beauty of the wood. Choose a finish that matches your décor and provides the level of protection you need.
For outdoor railings, use outdoor-specific finishes like spar urethane or oil-based stains that are designed to withstand sun and moisture exposure.
I love finishing wooden railings because they not only protect the material but also enhance the natural grain and texture, giving it that warm, welcoming feel.
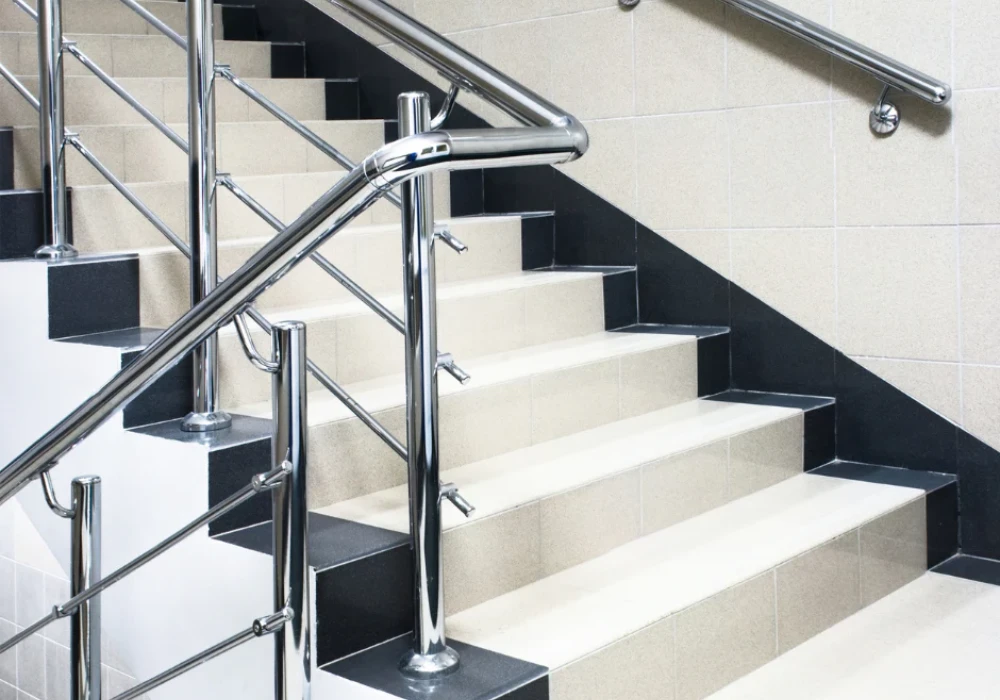
11. Secure the Railings with Proper Fasteners

When it comes to installing a railing, proper fasteners are essential for a secure and long-lasting installation. Use stainless steel screws, bolts, or anchors to ensure that each part of the railing is tightly secured and won’t loosen over time.
For wooden railings, deck screws or lag bolts are ideal, while metal railings might require specialized anchors. Always check that your fasteners are appropriate for the material you’re working with and weather-resistant for outdoor railings.
Ensure that you’re using the right size and type of fastener for your specific railing to avoid weak spots or damage to the material. Tighten all screws fully for a secure, stable railing.
I love knowing that with the right fasteners, my railing will be safe, secure, and long-lasting, giving me peace of mind knowing it’s sturdy and properly installed.
Quick Comparison Table for Railing Installation Methods
| Railing Installation Idea | Best For | Main Look | Difficulty | Maintenance |
|---|---|---|---|---|
| Painting or staining wood | Wooden railings | Updated, fresh look | Low | Medium |
| Securing posts with anchors | Outdoor, concrete surfaces | Stable, secure base | Medium | Low |
| Adding decorative finials | Classic homes | Ornate, vintage style | Low | Low |
| Installing glass panels | Modern homes | Sleek, open feel | Medium | High |
| Using a bottom rail for support | All railing types | Finished, complete look | Medium | Low |
| Using macramé or rope accents | Coastal, rustic spaces | Artistic, boho vibe | Low | Low |
| Pre-drilling holes for screws | Wooden and metal railings | Neat, clean installation | Low | Low |
Conclusion
Installing a railing can seem like a big project, but with the right guidance, it’s entirely manageable, especially when you break it down into clear, actionable steps.
From measuring and pre-drilling holes to choosing the right materials and securing everything with the proper fasteners, each step plays an important role in creating a stable and visually pleasing railing.
Remember, your railing is both a functional and aesthetic feature in your home, and with these 11 installation ideas, you can ensure a professional, safe, and stylish result. Whether you opt for a DIY approach or bring in a professional.
A well-installed railing doesn’t just improve safety; it also enhances the overall look of your space, giving your home an updated, polished appearance. Ready to tackle your railing installation? Let’s get started!
FAQs
You’ll need measuring tools, screws, drills, anchors, a level, a saw (for cutting), and the appropriate fasteners for your railing material (wood, metal, etc.).
The installation time depends on the size and complexity of the project. On average, a basic railing installation could take 3-6 hours, while more complex installations (like glass or custom metal railings) might take a couple of days.
Yes, if you’re familiar with basic tools and installation techniques, you can install a railing yourself. However, some projects (like installing glass or custom metal railings) may require professional help.
Ensure that the posts are securely anchored, the gaps between spindles meet building code requirements (usually no wider than 4 inches), and the handrails are at the correct height (typically 36–38 inches).
You can install many types of railings yourself, but if you’re unsure about the project or dealing with complicated materials (like glass), it’s best to consult a professional installer.
Metal railings (especially stainless steel or wrought iron) are among the most durable options for both indoor and outdoor spaces. They’re resistant to weather, wear, and rust.
The maintenance depends on the material. Wood may need to be re-stained or sealed, while metal railings should be cleaned regularly to prevent rust. Glass requires minimal maintenance, mainly occasional cleaning to keep it clear.